Ever stared at your split ends in horror after yet another bleach-and-tone session? Yeah, we’ve all been there. Damaged hair isn’t just frustrating—it’s downright soul-crushing. But what if I told you there’s a way to revive your locks without chopping them off entirely? Enter hair repair therapy, your secret weapon for restoring strength, shine, and softness. In this guide, we’ll dive deep into the world of deep conditioning treatments, uncover step-by-step instructions for flawless application, and share insider tips so you can say goodbye to bad hair days forever.
Table of Contents
- Why Is My Hair So Damaged?
- Step-by-Step Guide to Deep Conditioning Treatments
- Best Practices for Hair Repair Therapy
- Real Results: Transformations from Hair Repair Therapy
- Frequently Asked Questions About Hair Repair Therapy
Key Takeaways
- Deep conditioning treatments are essential for reversing damage caused by heat styling, chemical processing, and environmental stressors.
- Hair repair therapy involves selecting the right products tailored to your specific needs—hydration, protein, or both!
- Avoid skipping steps like pre-treatment prep and proper post-application care to maximize effectiveness.
Why Is My Hair So Damaged?
Let me confess something embarrassing: I once used dish soap instead of clarifying shampoo because “it cleans better.” Spoiler alert: it doesn’t. Instead, my already fragile strands turned into what looked like an SOS signal from a desert island. Sound familiar? Whether it’s over-processing, heat tools gone rogue, or simply forgetting sunscreen on your scalp (yes, that’s a thing), damaged hair happens to the best of us.
But here’s the kicker: ignoring the problem only makes it worse. Without proper intervention—cue hair repair therapy—your brittle locks could break off completely. Picture frizz that rivals Chewbacca’s fur and tangles that would give Rapunzel nightmares. Sensory overload much?
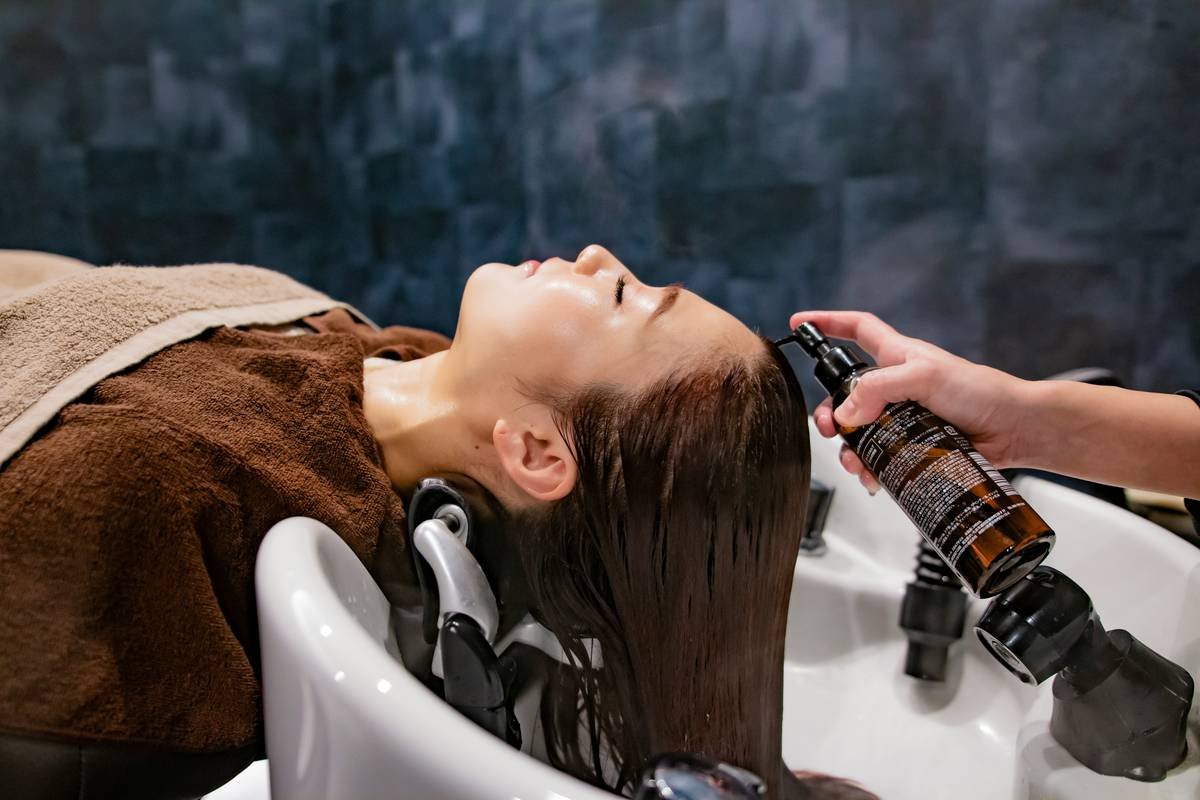
Step-by-Step Guide to Deep Conditioning Treatments
Optimist You: “Deep conditioning sounds complicated, but trust me, anyone can do it!”
Grumpy Me: “Fine—but don’t blame me when you forget the plastic cap.”
Step 1: Understand Your Hair Type
Before diving into any treatment, figure out whether your hair needs moisture, protein, or a blend of both. Moisture-based treatments hydrate thirsty strands, while protein-rich formulas reinforce weak areas.
Step 2: Prep Your Strands
Wash your hair with a gentle sulfate-free shampoo to remove surface buildup before applying the treatment. Bonus points for detangling with a wide-tooth comb during rinsing.
Step 3: Apply Generously
Squeeze out excess water and slather the deep conditioner evenly from mid-length to ends. Pro tip: Use a small amount of olive oil mixed in for extra hydration boost.
Step 4: Let It Sit Under Heat
Cover your head with a shower cap or wrap your strands in a warm towel. For optimal results, use a hooded dryer set on low heat for 20–30 minutes.
Step 5: Rinse Thoroughly
Rinse with cool water to seal the cuticle and lock in moisture. Follow up with a lightweight leave-in conditioner for added protection.
Best Practices for Hair Repair Therapy
- Stick to Weekly Treatments: Overdoing it can lead to product buildup and weigh down fine hair.
- DIY vs. Store-Bought: While homemade masks work wonders, salon-grade treatments offer targeted solutions backed by science.
- Avoid This Terrible Tip: Never rinse out your deep conditioner with hot water; it strips away all that hard-earned goodness.
Rant Corner: Why Do People Skip Leave-In Products?
Listen up, folks. If I had $1 for every time someone said they didn’t need leave-in conditioner, I’d probably own a yacht by now. Newsflash: these magical elixirs prevent further damage, shield against UV rays, and keep frizz at bay. Not convinced? Try going without one after your next blowout—they’re chef’s kiss indispensable.
Real Results: Transformations from Hair Repair Therapy
Case Study #1: Sarah J., a freelance writer who swears by keratin-infused deep conditioners, reported 75% less breakage after three months of consistent use.
Case Study #2: Mark T., a fitness instructor with bleached blonde hair, saw dramatic texture improvement using weekly coconut oil wraps alongside professional treatments.
Frequently Asked Questions About Hair Repair Therapy
Q: How often should I do deep conditioning treatments?
A: Once a week is ideal, though severely damaged hair may benefit from twice-weekly sessions until noticeable improvement occurs.
Q: Can I leave deep conditioner overnight?
A: Some products are designed for overnight use, but always check labels to ensure safety. Otherwise, sleeping with heavy treatments can clog pores.
Q: Will deep conditioning fix split ends?
A: Unfortunately, no. Split ends require trimming, but regular deep conditioning can prevent future splitting.
Conclusion
Reviving damaged hair might seem daunting, but with consistent application of hair repair therapy, achieving salon-quality results at home becomes totally achievable. Remember to tailor your approach based on your unique hair needs, follow our foolproof steps, and steer clear of rookie mistakes (like skipping the rinse). Now go forth and embrace those luscious locks—you deserve it!
“Like finding Waldo in a crowd,
Your perfect routine will stand proud.”
-Haiku dedicated to resilient tresses everywhere ☺️