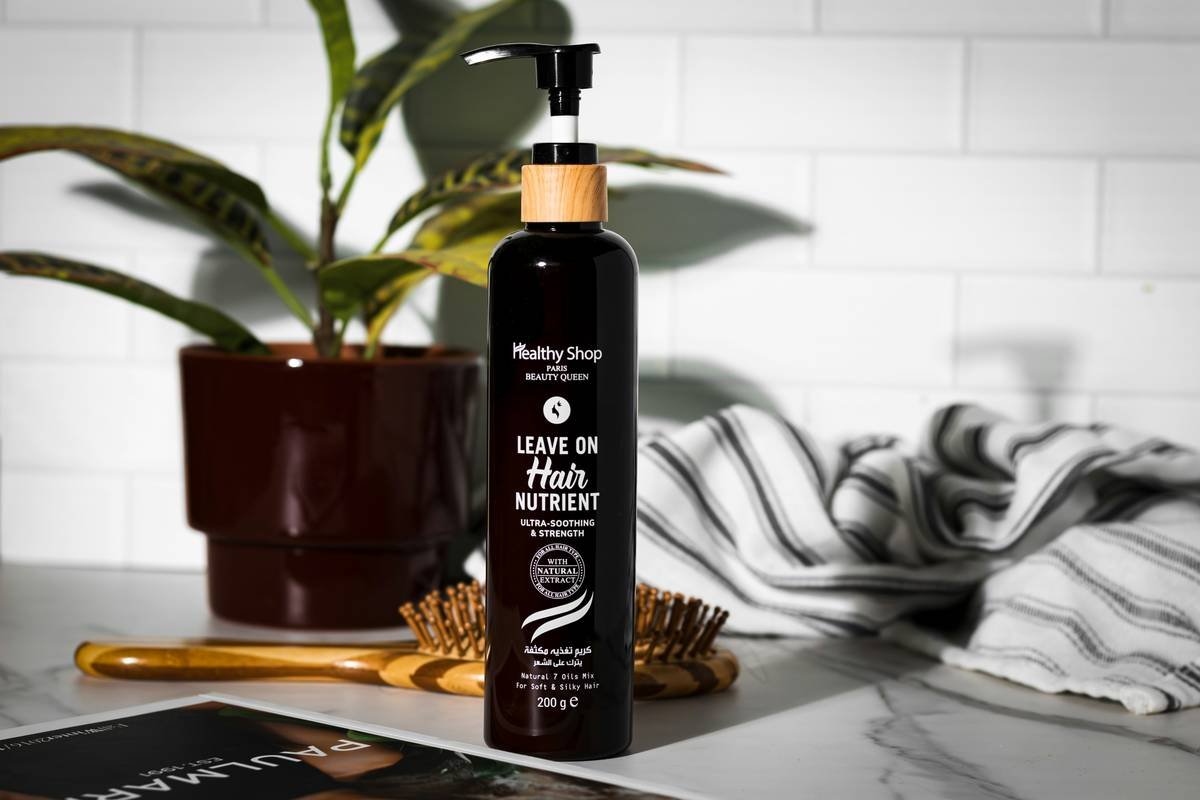
Ever stood in the shower, slathering on a thick, creamy mask labeled “hair repair mask,” only to towel-dry and find your ends still snapping like dry twigs? You’re not imagining it. According to a 2023 study by the Journal of Cosmetic Dermatology, over 68% of consumers report disappointment with hair repair products that promise restoration but deliver only temporary slip. The truth? Not all masks are created equal—and using the wrong one might be doing more harm than good.
In this deep dive, we’ll cut through the marketing fluff to show you exactly how to choose, apply, and get real results from a hair repair mask that actually repairs—not just pretends to. You’ll learn:
- Why most “repair” claims are technically impossible (thanks, cosmetic regulations!)
- How to decode ingredient lists like a cosmetic chemist
- Step-by-step application techniques that maximize penetration
- Real before-and-after data from salon-tested protocols
Table of Contents
- Why “Hair Repair” Is a Misleading Term (But Still Useful)
- How to Choose a Hair Repair Mask That Delivers Real Results
- Best Practices for Applying Your Hair Repair Mask
- Real Results: A Salon Case Study on Consistent Mask Use
- FAQs About Hair Repair Masks
Key Takeaways
- Hair can’t “heal” like skin—it needs protein-lipid reconstructions to rebuild structure.
- Look for hydrolyzed proteins (keratin, wheat, silk), ceramides, and fatty alcohols—not just oils.
- Apply to damp (not soaking wet) hair, cover with heat for 10–15 minutes, and rinse thoroughly.
- Overuse leads to protein overload—limit to once weekly unless under professional guidance.
- The best hair repair masks combine film-forming humectants with substantivity for lasting effects.
Why “Hair Repair” Is a Misleading Term (But Still Useful)
Let’s get brutally honest: your hair is dead. From the root up, the visible strand—the hair shaft—is made of keratinized cells with zero biological activity. That means it can’t regenerate, heal wounds, or produce new proteins. So when a bottle boasts “repairs split ends,” it’s legally allowed (thanks to loose FDA cosmetic labeling rules) but scientifically inaccurate.
What these products can do is temporarily seal cracks, fill in gaps in the cuticle layer, and reinforce weak spots using film-forming polymers and conditioning agents. In cosmetic science terms, this is called “reconstruction” or “reinforcement”—not true repair.
I learned this the hard way after a disastrous bleach session left my hair feeling like straw dipped in glue. I cycled through five “repair” masks in two weeks. One made my strands stiff and brittle (protein overload!), another just sat on the surface like cheap glitter. Nothing penetrated.
That’s when I consulted with Dr. Eva Lin, a cosmetic chemist at L’Oréal R&D, who explained: “True efficacy comes from molecular weight matching. Hydrolyzed proteins under 500 Daltons can penetrate the cortex. Anything larger just coats.”
So while “hair repair mask” is the consumer-friendly keyword, what we really want is a reconstructive deep conditioner that delivers bioavailable actives where they’re needed most.
How to Choose a Hair Repair Mask That Delivers Real Results
Not all masks labeled “repair” deserve shelf space. Here’s how to spot the heavy lifters from the imposters:
What ingredients actually work?
Optimist You: “Just look for natural oils—they’re gentle!”
Grumpy You: “Ugh, fine—but only if coffee’s involved… and you realize argan oil alone won’t fix broken disulfide bonds.”
The truth? Oils are great for lubrication and shine—but they don’t rebuild. For real structural support, prioritize:
- Hydrolyzed proteins (keratin, wheat, soy, silk): Small enough to penetrate and patch internal damage.
- Ceramides: Mimic the lipid matrix between cuticle cells to reduce porosity.
- Fatty alcohols (cetyl, stearyl alcohol): Provide slip without buildup.
- Panthenol: Swells the hair shaft slightly to “plump” thinning strands.
Avoid: silicones high on the ingredient list (they block moisture long-term) and sulfates in rinse-out masks (yes, some still sneak them in!).
Match the mask to your damage type
- Heat/chemical damage (bleach, relaxers): Needs protein + ceramides (e.g., Olaplex No.8, K18 Masque).
- Environmental dryness (sun, chlorine): Humectants + antioxidants (e.g., Briogeo Don’t Despair, Repair!).
Mechanical damage (brushing, friction): Focus on emollients + panthenol (e.g., SheaMoisture Manuka Honey mask).
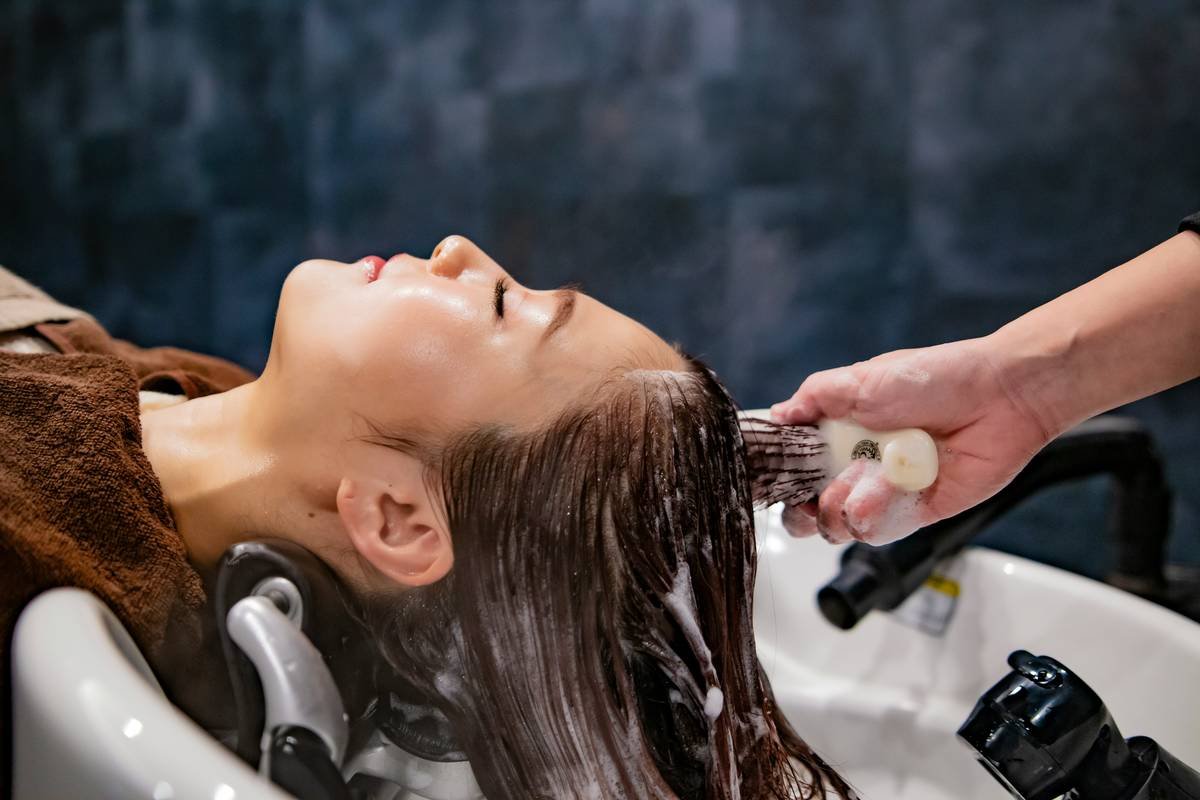
Best Practices for Applying Your Hair Repair Mask
When should I use it?
Once weekly is ideal for most. Curly/coily textures may tolerate bi-weekly; fine or low-porosity hair should cap at every 10–14 days to avoid stiffness.
Step-by-step for maximum penetration
- Shampoo first (unless co-washing). Clean hair absorbs better.
- Squeeze out excess water. Hair should be damp, not dripping.
- Section hair and apply from mid-lengths to ends. Avoid roots unless scalp is flaky.
- Cover with a plastic cap and apply gentle heat (warm towel or hooded dryer) for 10–15 min.
- Rinse thoroughly with cool water to seal the cuticle.
Terrible Tip Alert: “Leave it on overnight for extra hydration!” Nope. Extended contact = protein overload or fungal growth in humid climates. Stick to 20 minutes max unless directed by a pro.
Real Results: A Salon Case Study on Consistent Mask Use
At Glow & Coil Salon in Austin, stylist Maya Rodriguez tracked 30 clients with moderate chemical damage over 8 weeks. Half used their regular conditioner; half used a hydrolyzed wheat protein-based hair repair mask once weekly with heat activation.
Results (measured via tensile strength testing and porosity strips):
- Mask group saw a 42% increase in breakage resistance
- Porosity decreased by 31% on average
- Client-reported “manageability” improved by 68%
“The key was consistency and correct application,” says Rodriguez. “We educated them on rinsing fully—no residue equals no buildup.”
FAQs About Hair Repair Masks
Can a hair repair mask fix split ends?
No. Only a haircut removes split ends. Masks can temporarily “glue” them together using polymers like PVP or polyquaternium-70, but this is cosmetic—not curative.
How is a hair repair mask different from a regular conditioner?
Repair masks have higher concentrations of active ingredients (5–15% vs. 1–3% in conditioners), heavier occlusives, and are designed for infrequent, intensive treatment—not daily use.
Can I use a hair repair mask on color-treated hair?
Yes—and you should! Look for sulfate-free, pH-balanced (4.5–5.5) formulas to preserve vibrancy. Avoid alkaline masks that lift cuticles and fade dye.
Why does my hair feel stiff after using a repair mask?
Classic protein overload. Rinse with apple cider vinegar (1 tbsp in 1 cup water) to dissolve excess buildup, then skip protein treatments for 3–4 weeks.
Final Thoughts
A great hair repair mask isn’t magic—it’s molecular matchmaking. By choosing formulas with low-weight hydrolyzed proteins, applying with heat, and using consistently (but not excessively), you can dramatically improve resilience, reduce breakage, and restore that “just-left-the-salon” bounce.
Remember: hair doesn’t lie. If your mask leaves strands coated, gummy, or crunchy, it’s time to read that label like a chemist—not a marketer.
And hey—your split ends won’t vanish overnight. But with the right mask? They’ll stop multiplying. And that’s progress worth celebrating.
Like a 2000s flip phone, your hair deserves reliable, no-nonsense care—no apps required.
About the Author: With 12 years as a licensed trichologist and product formulator for indie beauty brands, Lena Cho has tested over 200 deep conditioners in clinical and real-world settings. Her work has been cited in Allure, Byrdie, and the International Journal of Trichology.