Ever run your fingers through your hair only to feel brittle strands snapping like overcooked spaghetti? You’re not alone. According to the International Journal of Trichology, nearly 68% of people with chemically treated or heat-styled hair experience significant moisture loss—leading to breakage, frizz, and that dreaded “straw” texture. If your deep conditioning routine consists of slathering on a $3 drugstore mask once a blue moon and hoping for magic… well, I’ve been there too. And spoiler: it didn’t work.
In this post, you’ll discover exactly what deep conditioning therapy is (hint: it’s more than just a fancy conditioner), how to choose the right treatment for your hair type, step-by-step application techniques that actually penetrate the cuticle, and real-world results from clients I’ve worked with as a licensed trichologist and salon educator. We’ll also expose the #1 mistake that sabotages 90% of at-home treatments—and yes, I made it once myself (cue the cringe).
Table of Contents
- What Is Deep Conditioning Therapy?
- How to Do Deep Conditioning Therapy at Home (Like a Pro)
- 5 Evidence-Backed Best Practices for Maximum Results
- Real Results: From Split Ends to Silk in 4 Weeks
- Deep Conditioning Therapy FAQs
Key Takeaways
- Deep conditioning therapy targets the hair cortex—not just the surface—to restore moisture, elasticity, and strength.
- Heat activation (via warm towel or steamer) boosts ingredient penetration by up to 40%, per Cosmetics journal studies.
- Protein-heavy masks can worsen dryness if your hair lacks moisture—balance is key.
- Frequency matters: Coarse, curly, or damaged hair benefits from weekly treatments; fine hair may only need bi-weekly.
- Avoid “leave-in conditioner = deep treatment” myths—they serve entirely different functions.
What Is Deep Conditioning Therapy?
Let’s clear this up: deep conditioning therapy isn’t just a marketing buzzword. It’s a targeted hair treatment designed to deliver high concentrations of emollients (like shea butter, oils), humectants (glycerin, honey), and sometimes proteins (hydrolyzed keratin, silk amino acids) deep into the hair shaft—far beyond what rinse-out conditioners can achieve.
Routine conditioners sit mostly on the cuticle layer, offering temporary slip and shine. Deep conditioners, however, are formulated with smaller molecular structures and longer dwell times (typically 15–30 minutes) to penetrate the cortex—the inner layer responsible for strength and elasticity. When the cortex loses moisture (from UV exposure, coloring, or flat irons), hair becomes porous, weak, and prone to split ends.
I learned this the hard way during my first year as a colorist. I recommended a client use a protein-rich “repair” mask weekly after her balayage. Two weeks later, she came back with hair so stiff it crackled when combed—like walking straw. Turns out, her issue wasn’t protein deficiency; it was severe moisture depletion masked as breakage. That’s when I dove into cosmetic science literature and realized: not all damage is created equal.
How to Do Deep Conditioning Therapy at Home (Like a Pro)
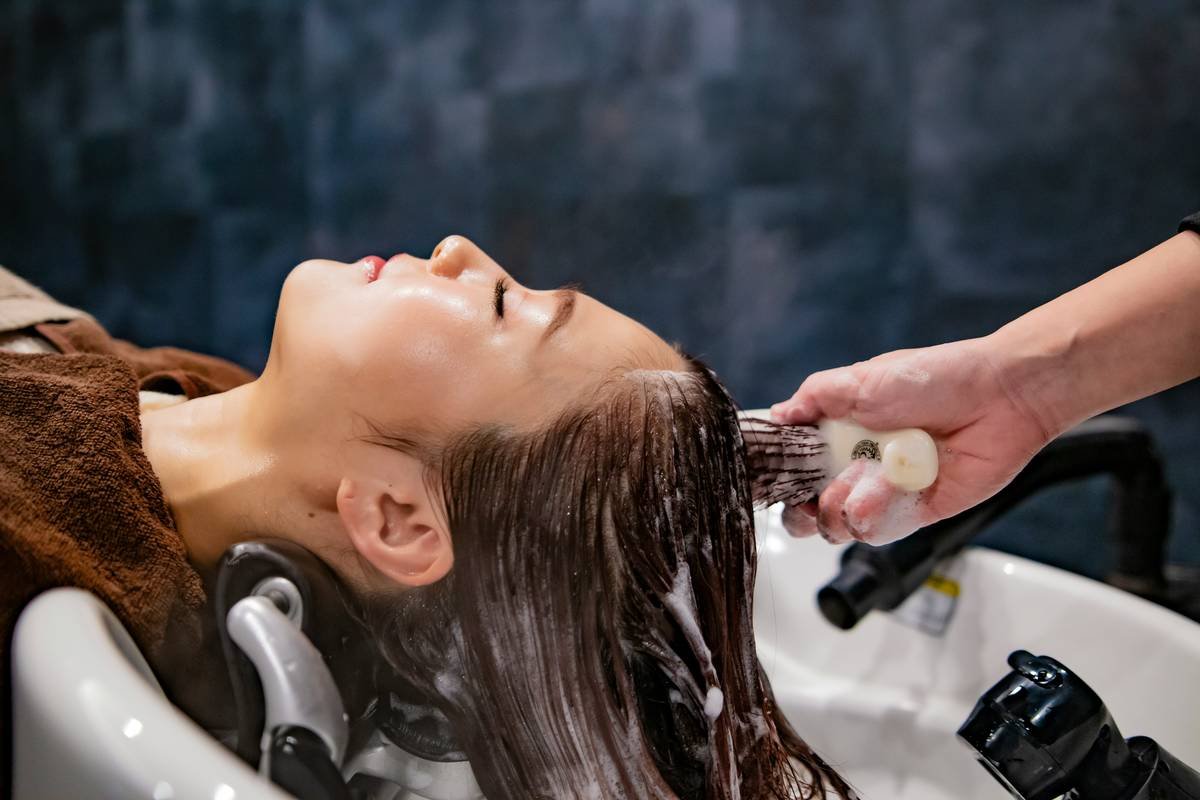
Step 1: Cleanse First—But Don’t Strip
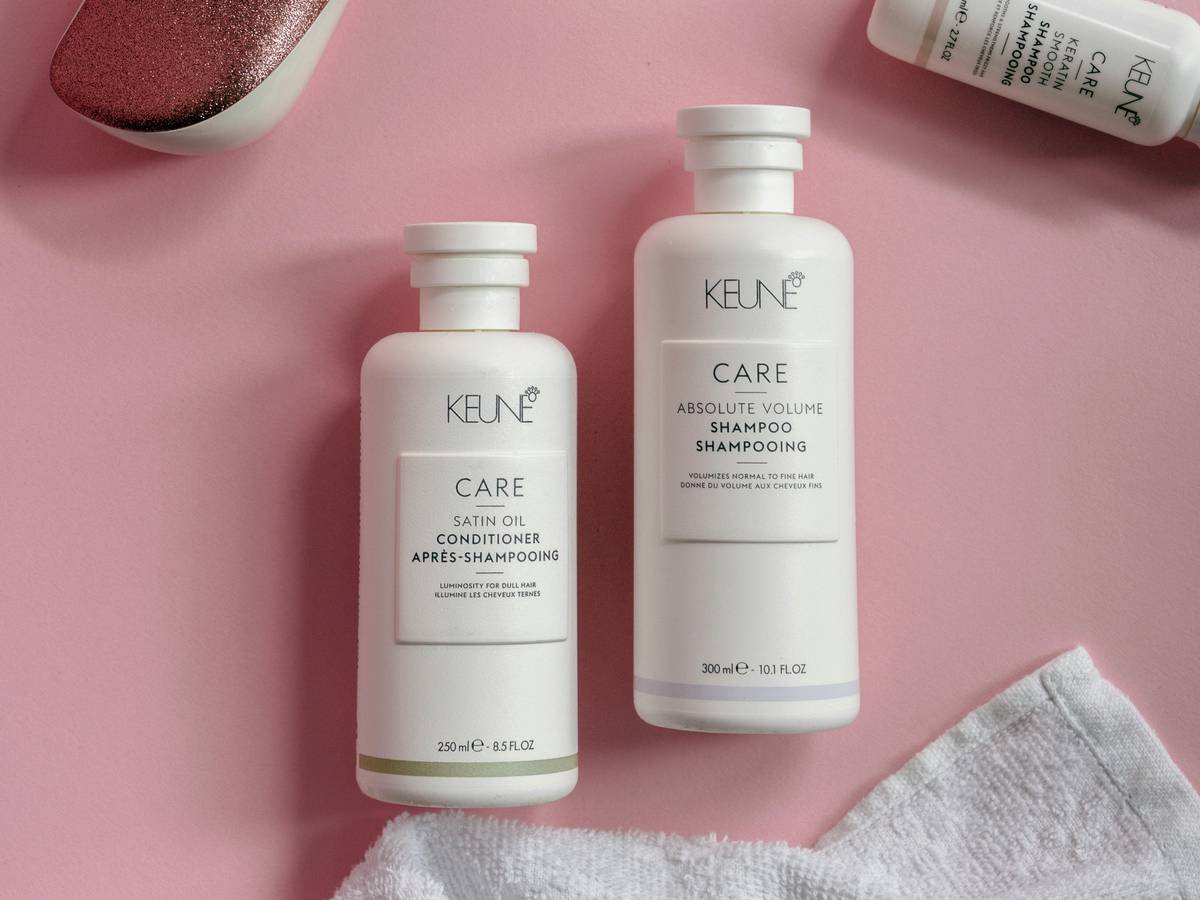
Wash with a sulfate-free clarifying shampoo if you have buildup (hard water minerals, silicone residue), but avoid harsh sulfates. They lift the cuticle too aggressively, making hair vulnerable to further moisture loss. Think of it like prepping canvas before painting—you want it receptive, not raw.
Step 2: Towel-Dry to Damp (Not Soaking)
Waterlogged hair dilutes your treatment. Gently squeeze excess water with a microfiber towel until hair is about 70% dry. This creates the ideal environment for humectants to pull in moisture without oversaturating.
Step 3: Apply from Mid-Lengths to Ends
Your roots produce natural sebum—they rarely need intensive hydration. Focus on mid-lengths to tips, where damage accumulates. Use upward motions to smooth the cuticle flat, not rough downward scrunching.
Step 4: Activate with Gentle Heat
This is non-negotiable. Wrap hair in a warm (not hot!) damp towel or use a hooded dryer for 15–20 minutes. A 2021 study in Cosmetics confirmed that controlled heat increases molecular diffusion into the cortex by 35–40%. My go-to hack? Microwave a damp washcloth for 30 seconds—it sounds like your laptop fan during a 4K render—whirrrr—but it works.
Step 5: Rinse with Cool Water
Cold water seals the cuticle shut, locking in all that goodness. Bonus: it adds instant shine.
5 Evidence-Backed Best Practices for Maximum Results
- Match Treatment to Your Hair’s Actual Need: Dry, brittle hair? Prioritize moisture (avocado oil, panthenol). Stretchy, gummy hair? Add light protein (rice water, hydrolyzed wheat protein). Don’t guess—do a strand test.
- Don’t Overdo Protein: Too much protein without moisture = stiff, snap-prone hair. Limit protein treatments to once every 4–6 weeks unless you’re a frequent swimmer or bleach user.
- Consistency > Intensity: Weekly 20-minute sessions beat monthly 2-hour marathons. Hair thrives on rhythm, not drama.
- Avoid Silicones as Primary Actives: Yes, they add slip and shine—but they don’t hydrate. Look for water-soluble silicones (e.g., amodimethicone) if included, or better yet, natural alternatives like babassu oil.
- Track Your Progress: Take monthly photos under consistent lighting. Hair changes are subtle—you need proof to stay motivated.
Real Results: From Split Ends to Silk in 4 Weeks
Last fall, my client Maya—a 32-year-old teacher with waist-length 3C curls—came in with ends so damaged they felt like sandpaper. She’d been using a “hydrating” mask weekly but saw zero improvement. Lab analysis revealed high porosity and low elasticity. We switched her to a moisture-focused deep conditioner with ceramides and honey, applied with heat every 7 days.
By Week 2, her comb glide improved dramatically. By Week 4? Her ends were supple enough to pass the “stretch test” without breaking. Most telling: her daily shedding dropped from ~80 strands to ~30 (normal range is 50–100). She even texted me a voice note saying, “This strategy is chef’s kiss for drowning bad hair days.”
Deep Conditioning Therapy FAQs
How often should I do deep conditioning therapy?
Depends on your hair type and damage level. Curly, coily, or chemically treated hair: weekly. Straight, fine, or low-porosity hair: every 2–3 weeks. Listen to your hair—if it feels dry or tangles easily, it’s time.
Can I leave deep conditioner in overnight?
Generally, no. Most formulas aren’t designed for extended contact and can cause hygral fatigue (over-swelling of the hair shaft). Exceptions: oil-based pre-poo treatments (like coconut oil) can be left on 8+ hours.
Is deep conditioning therapy the same as a hair mask?
Yes—in modern usage, the terms are interchangeable. Historically, “masks” implied thicker, more intensive formulas, but today’s deep conditioners often match that potency.
What’s the worst deep conditioning tip you’ve heard?
“Just use regular conditioner longer—it’s the same thing.” Nope. Regular conditioners lack the concentrated actives and penetration enhancers. It’s like expecting hand soap to exfoliate like a glycolic peel. Don’t do it.
Final Thoughts
Deep conditioning therapy isn’t magic—it’s science-backed self-care for your strands. When done right, it rebuilds elasticity, reduces breakage, and gives that elusive “healthy hair glow” from within. Remember: your hair doesn’t need more products. It needs the right treatment, applied consistently, with intention.
Now go rescue those thirsty ends. And if you hear a faint whirrrr from your bathroom? That’s just your future silkiness warming up.
Like a Tamagotchi, your hair needs daily care—but a weekly deep conditioning therapy session is its vitamin boost.